Cake cutting is both an art and a practical skill, ensuring even portions and a visually appealing presentation․ Proper techniques are crucial for achieving clean slices and maintaining the cake’s integrity․ Whether for small gatherings or special events, mastering cake cutting enhances the overall experience, making it a memorable treat for everyone․ Common challenges include uneven slices and crumbling edges, but with the right tools and methods, these can be easily avoided․ This guide focuses on the 6-inch cake, offering tailored advice for optimal results․ Explore various cutting styles and tips to elevate your cake-serving skills, ensuring every slice is perfect․ From radial cuts to grid patterns, discover methods that suit your needs and preferences․
1․1 The Importance of Proper Cake Cutting
Proper cake cutting is essential for achieving even, visually appealing slices while maintaining the cake’s structural integrity․ It ensures consistent portion sizes, making it ideal for events where fairness and presentation matter․ A well-cut cake enhances the overall dining experience, showcasing your attention to detail and skill․ Improper cutting can lead to uneven slices, crumbling, or wasted cake, diminishing the appeal․ For a 6-inch cake, precise techniques are crucial due to its smaller size, requiring careful handling to avoid breaking layers․ Mastering these skills elevates your hosting abilities, ensuring every guest enjoys a perfect slice․ It’s a simple yet impactful detail․
1․2 Brief History of Cake Cutting Techniques
Cake cutting techniques have evolved over centuries, reflecting advancements in tools and changing culinary preferences․ Ancient civilizations used simple blades to divide cakes, often as symbols of celebration․ The radial cutting method, slicing from the center outward, emerged in the 17th century, becoming a standard approach․ By the 19th century, tiered cakes popularized multi-layer cutting techniques․ Modern tools like serrated knives and cake slicers have refined the process, ensuring precision․ For smaller cakes, such as the 6-inch, techniques have adapted to maintain portion control and presentation․ This evolution underscores the balance between tradition and innovation in cake cutting, enhancing both functionality and aesthetics․
Understanding the 6-Inch Cake
A 6-inch cake is a popular size for intimate gatherings, typically serving 4-6 people․ Its compact dimensions make it easy to handle and slice evenly, ensuring clean portions․ The smaller size also allows for precise decorating and portion control, making it ideal for special occasions or small events․ Its portability and manageable serving capacity have made it a favorite among bakers and hosts seeking convenience without compromising on presentation or taste․
2․1 Dimensions and Volume of a 6-Inch Cake
A 6-inch cake typically measures 6 inches in diameter and 2-3 inches in height for a single layer․ This size yields a manageable volume, ideal for small gatherings․ The compact dimensions ensure even baking and simplify slicing․ When calculating volume, the formula for the area of a circle (πr²) applies, with the radius being 3 inches․ Multiplying by height gives approximately 1․8 liters for a 3-inch-tall cake․ This volume provides 4-6 generous servings, making it perfect for intimate events․ Understanding these dimensions helps in planning recipes, baking times, and achieving consistent results when preparing a 6-inch cake․
2․2 Typical Serving Sizes for a 6-Inch Cake
A 6-inch cake typically serves 4 to 6 people, depending on portion sizes․ Standard slices measure 1-1․5 inches wide, ensuring generous servings without wasting․ For smaller gatherings, this size is ideal, offering a personal touch․ Events with larger groups may require additional cakes, but the 6-inch remains versatile․ Its compact size also makes it perfect for tiered cakes or desserts․ By understanding serving sizes, you can plan accurately, ensuring every guest enjoys a satisfying slice․ This guide helps you maximize servings while maintaining presentation, making the 6-inch cake a practical choice for various celebrations․
Tools and Equipment Needed
Essential tools include a serrated knife, cake stand, and server․ A turntable and cake slicer can enhance precision․ These tools ensure clean, even cuts for perfect slices․
3․1 Essential Knives for Cutting a 6-Inch Cake
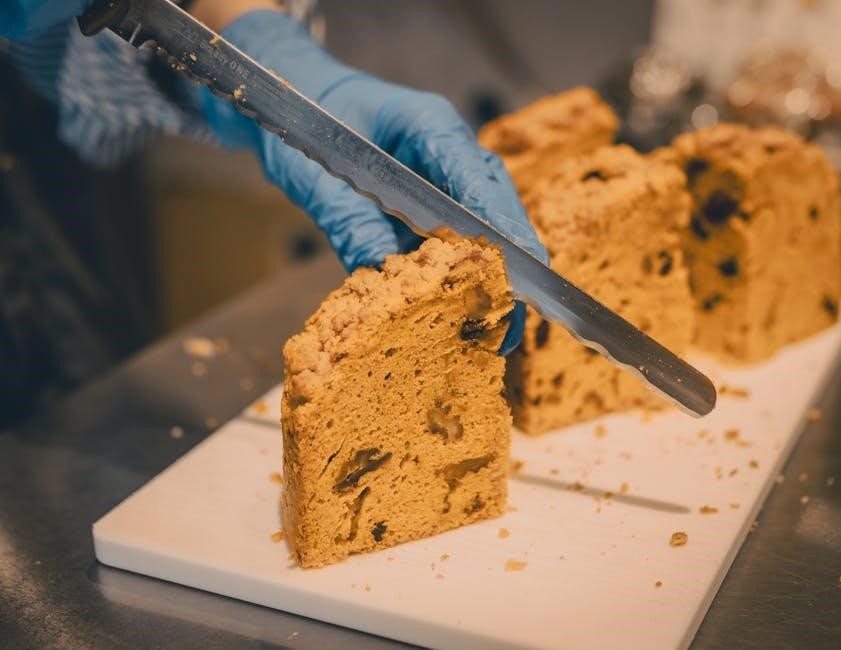
A serrated knife is indispensable for cutting a 6-inch cake, as it glides smoothly through layers without tearing․ Consider using an offset serrated knife for precise, even cuts․ A utility knife can also be effective for smaller cakes, while a paring knife is handy for trimming edges․ These tools ensure clean, professional-looking slices every time, making them must-haves for any cake-cutting task․
3․2 Other Tools: Cake Stands, Slicers, and Servers
Beyond knives, essential tools for cutting a 6-inch cake include a sturdy cake stand to elevate and display the cake, ensuring easy access for slicing․ A cake slicer or wire cutter can help achieve perfectly even portions, while a cake server or spatula is ideal for transferring slices to plates without breaking․ Optional tools like a turntable allow for smooth, 360-degree access, and a cake smoother can refine frosting edges․ These accessories enhance precision, presentation, and efficiency, making the cake-cutting process seamless and professional․
Leveling the Cake
Leveling ensures an even surface for stacking and frosting, preventing uneven slices․ It involves removing the dome using a serrated knife or cake leveler, creating a flat top․ This step guarantees stability and uniform appearance, essential for professional presentation and smooth frosting application․ Proper leveling enhances the overall cake structure, making it easier to achieve clean, precise cuts․ A level cake is the foundation for perfect slices, ensuring every piece looks and tastes consistent․ This simple step significantly impacts the final result, making it a crucial part of the cake preparation process․
4․1 Why Leveling is Crucial for Even Slices
Leveling a 6-inch cake is essential for achieving even slices․ A domed cake can lead to uneven portions, with some slices thicker at the top than others․ By creating a flat surface, leveling ensures that each slice has the same height and volume․ This consistency is particularly important for events where uniformity in serving size is desired․ Additionally, a level cake prevents the top layers from collapsing or tilting, making it easier to stack and frost․ Even slices also enhance the visual appeal, ensuring every guest receives a perfectly proportioned piece․ Proper leveling is the first step toward achieving professional-looking results․
4․2 How to Level a 6-Inch Cake Layer
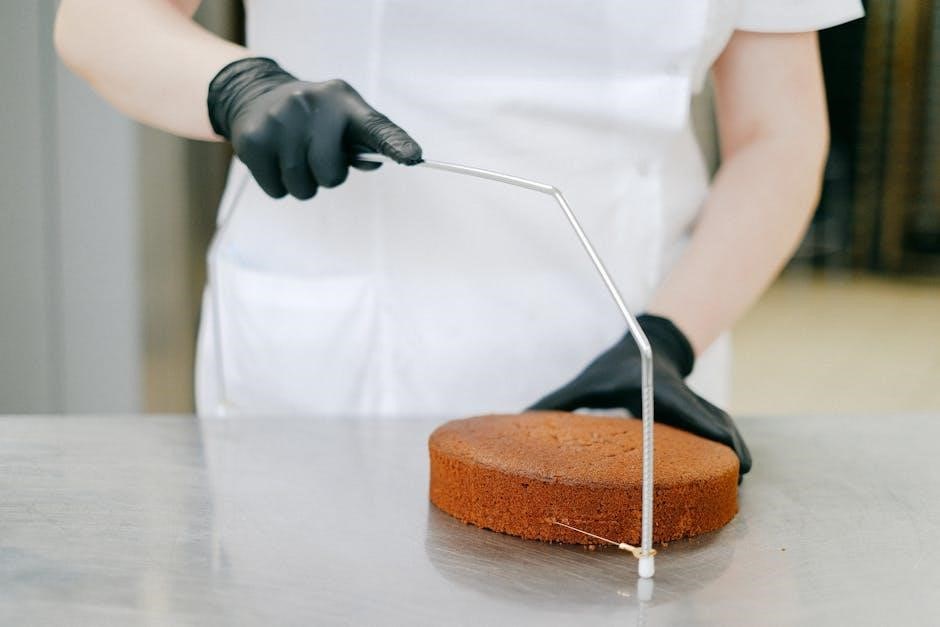
To level a 6-inch cake layer, start by placing it on a flat surface or turntable․ Use a serrated knife or a cake leveler to create a straight, even cut across the top․ Gently saw through the cake, applying light pressure to avoid tearing․ Once leveled, remove any excess cake or crumbs․ This step ensures a stable base for frosting and stacking, preventing uneven layers․ For accuracy, place the cake on a level surface and double-check its position before cutting․ Proper leveling guarantees a professional finish and makes frosting easier․ It’s a simple yet crucial step for achieving perfectly even slices every time․

Cutting Techniques
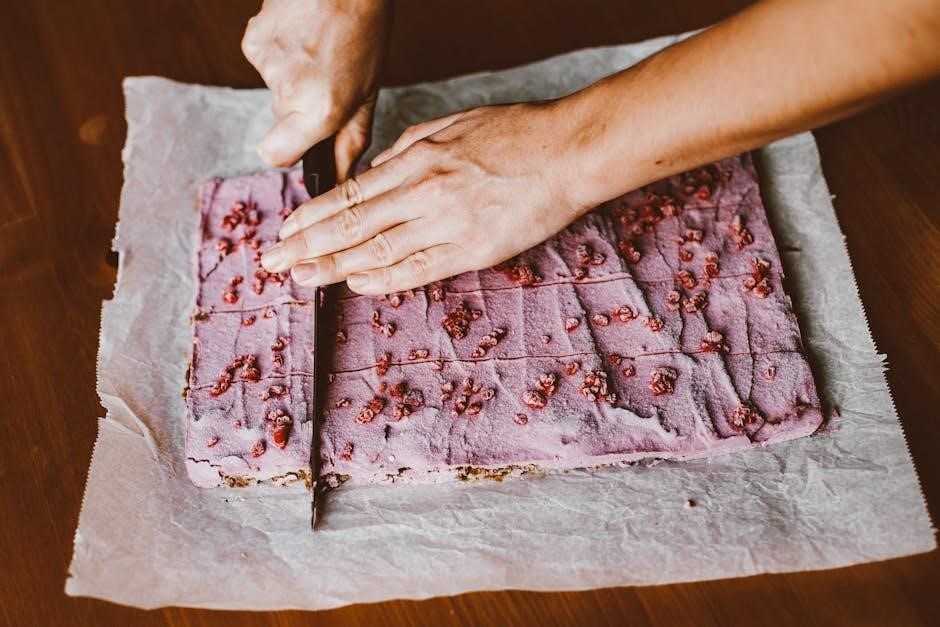
Cake cutting techniques are essential for achieving clean, even slices․ Common methods include radial cuts from the center and grid patterns for uniform portions․ Use a serrated knife for smooth cuts, ensuring precise and visually appealing results․ Proper technique enhances both presentation and serving efficiency, making every slice perfect․ Explore these methods to master cake cutting for any occasion․
5․1 The Radial Cut Method
The radial cut method involves slicing the cake from the center outward, creating even, wedge-shaped portions․ Place the cake on a stand or plate, then insert a serrated knife at the center․ Gently saw through the cake in a straight line to the edge, repeating this process around the cake․ This technique ensures consistent serving sizes and minimizes waste․ For a 6-inch cake, aim for 8-12 slices, depending on serving size preferences․ Use a gentle sawing motion to avoid crumbling, and adjust the angle slightly for larger or smaller portions․ This method is ideal for maintaining symmetry and visual appeal․
5․2 The Grid Cut Method
The grid cut method involves creating a pattern of horizontal and vertical cuts to divide the cake into smaller, uniform portions․ Start by placing the cake on a stand or plate․ Using a long serrated knife, make parallel vertical cuts from top to bottom, spacing them evenly․ Then, rotate the cake 90 degrees and repeat the process to create a grid pattern․ This method is ideal for achieving uniform slices and maximizing the number of servings․ For a 6-inch cake, you can typically get 9-12 smaller squares or rectangles․ Ensure the knife remains straight and use a gentle sawing motion for clean cuts․
5․3 Cutting Even Layers in a Tiered Cake
Cutting even layers in a tiered cake requires precision and patience․ For a 6-inch tiered cake, start by ensuring each layer is leveled and stacked securely․ Use a serrated knife or cake slicer to make horizontal cuts, creating uniform thickness for each layer․ Place the cake on a turntable for better access and visibility․ Begin at the bottom layer, cutting slowly and evenly, then repeat for each subsequent layer․ To maintain stability, insert dowels or cake rods between layers․ Always use a sharp knife to prevent tearing or crumbling․ This method ensures consistent portion sizes and a professional finish․
Serving Sizes and Portion Control
A 6-inch cake typically serves 6-8 people, depending on portion size․ Adjust slices for events by cutting thinner or thicker portions․ Use a serrated knife or cake slicer for clean, even cuts, ensuring consistent serving sizes․ This method helps maintain presentation and satisfies varying appetites․ Proper portion control enhances the overall dining experience, making it ideal for both intimate gatherings and larger celebrations․ Always consider the event type when determining slice size for optimal guest satisfaction․
6․1 Traditional Serving Sizes for a 6-Inch Cake
A 6-inch cake typically serves 6-8 people, with each slice measuring about 1-1․5 inches wide․ Standard portions assume a slice height of 2-3 inches, depending on the cake’s thickness․ For traditional events, slices are often cut radially from the center, ensuring uniform size and shape․ This method allows for clean, even servings without wasting cake․ Using a serrated knife or cake slicer helps achieve precise cuts․ Adjusting slice thickness can accommodate larger or smaller gatherings, but maintaining consistency ensures a professional presentation; Proper portion control is key to satisfying guests while preserving the cake’s visual appeal and structural integrity․
6․2 Adjusting Portion Sizes for Different Events
Portion sizes for a 6-inch cake can be tailored to fit various events․ For weddings or formal gatherings, smaller slices (1-inch wide) allow for more servings (8-10 people)․ Casual parties may prefer larger slices (1․5-2 inches wide), serving 6-8 guests․ Using a cake slicer or serrated knife ensures consistent cuts․ For smaller events, consider thicker slices for a hearty serving․ Adjusting slice width and height maintains presentation while meeting attendee needs․ This flexibility ensures the cake remains a crowd-pleaser, whether the event is intimate or grand․ Proper tools and techniques make portion adjustments seamless and visually appealing․
Decorating Tips
Enhance your 6-inch cake with elegant decorations․ Use fondant or buttercream for smooth frosting․ Add decorative swags or borders for a professional finish․ Ensure decorations complement slice portions without compromising the cake’s structure or ease of cutting․ Proper leveling and even layers are key to maintaining a polished appearance․ Simple yet creative designs can elevate the cake’s visual appeal while ensuring clean, even slices for serving․ Balancing aesthetics with practicality is essential for a beautifully presented dessert․
7․1 How to Frost a 6-Inch Cake
Frosting a 6-inch cake requires precision and patience․ Start by applying a thin “crumb coat” to trap stray crumbs, then chill the cake․ Next, spread a generous layer of buttercream or frosting evenly, using an offset spatula․ Smooth the top and sides, ensuring a uniform thickness․ For a polished finish, use a bench scraper to remove excess frosting and create sharp edges․ Allow the frosting to set slightly before serving․ Using high-quality ingredients and proper technique ensures a smooth, professional appearance․ This method prevents crumbs from marring the finish and guarantees clean, even slices when cutting․
7;2 Adding Decorations Without Compromising Slices
Decorating a 6-inch cake while maintaining clean, even slices requires careful planning․ Opt for lightweight decorations like fresh flowers or small edible designs, placing them strategically to avoid obstructing the cutting process․ Use a piping bag to create borders or write messages, as these add visual appeal without interfering with slicing․ Avoid overloading the cake with heavy toppings, as they can cause unevenness or damage when cutting․ Instead, incorporate decorations that complement the cake’s structure, such as fondant or sugar paste elements applied sparingly․ By balancing aesthetics and practicality, you can create a stunning cake that remains easy to slice and serve․

Common Mistakes to Avoid

Common mistakes include overcrowding the cake with decorations, leading to uneven slices, and cutting with a dull knife, resulting in ragged edges and crumbled cake layers․
8․1 Overcrowding the Cake with Decorations
Overcrowding a 6-inch cake with excessive decorations can make slicing difficult and uneven․ Too many toppings or heavy embellishments may cause the knife to drag, creating ragged edges․ Additionally, overcrowding can lead to uneven distribution of decorations in each slice, making some portions less visually appealing․ It’s important to balance aesthetics with practicality, ensuring decorations don’t interfere with clean cuts․ A cluttered cake also risks crumbling or breaking during serving․ To avoid this, use minimal yet impactful decorations and leave enough space between elements for smooth slicing․ This ensures every slice remains intact and visually consistent, enhancing both presentation and portion control․
8․2 Cutting Uneven or Ragged Edges
Cutting uneven or ragged edges is a common mistake when slicing a 6-inch cake․ This often occurs when using a dull knife or applying too much pressure, causing the cake to crumble or tear․ Uneven edges can make slices appear unprofessional and uneven in size․ To avoid this, use a sharp, serrated knife and make smooth, gentle sawing motions․ Ensure the knife is heated slightly before cutting, as this helps glide through the cake smoothly․ Additionally, always cut in a straight line from top to bottom, avoiding jagged movements․ This technique ensures clean, even slices and a polished presentation every time․
Mastering the art of cutting a 6-inch cake requires precision, the right tools, and a bit of practice․ With these skills, you’ll achieve perfectly portioned slices every time, ensuring a professional presentation and delighted guests․

9․1 Final Tips for Perfecting Your Cake Cutting Skills
Perfecting your cake-cutting skills requires attention to detail and practice․ Always use a sharp, serrated knife for clean cuts and to prevent crumbling․ Allow the cake to set for a few minutes after frosting to ensure stability․ Apply gentle, even pressure while slicing, and avoid sawing motions․ For tiered cakes, cut from the bottom layer upward to maintain balance․ Use a cake stand or turntable to access all sides effortlessly․ Practice on different cake sizes and styles to build confidence․ Finally, stay patient and take your time, as rushed cuts often lead to uneven slices․
9․2 The Impact of Proper Cutting on Presentation
Proper cake cutting significantly enhances the visual appeal and professionalism of your presentation․ Clean, even slices create a polished look, making the cake more inviting and visually stunning․ Uneven or ragged cuts can detract from the cake’s aesthetic, even if it’s beautifully decorated․ Precise cutting allows the cake’s layers and fillings to be showcased neatly, while consistent portion sizes ensure a cohesive appearance․ Additionally, well-cut slices are easier to serve and handle, reducing crumbs and spills that can mar the presentation․ Ultimately, proper cutting elevates the cake from a delicious treat to a masterpiece that impresses both visually and flavorfully․